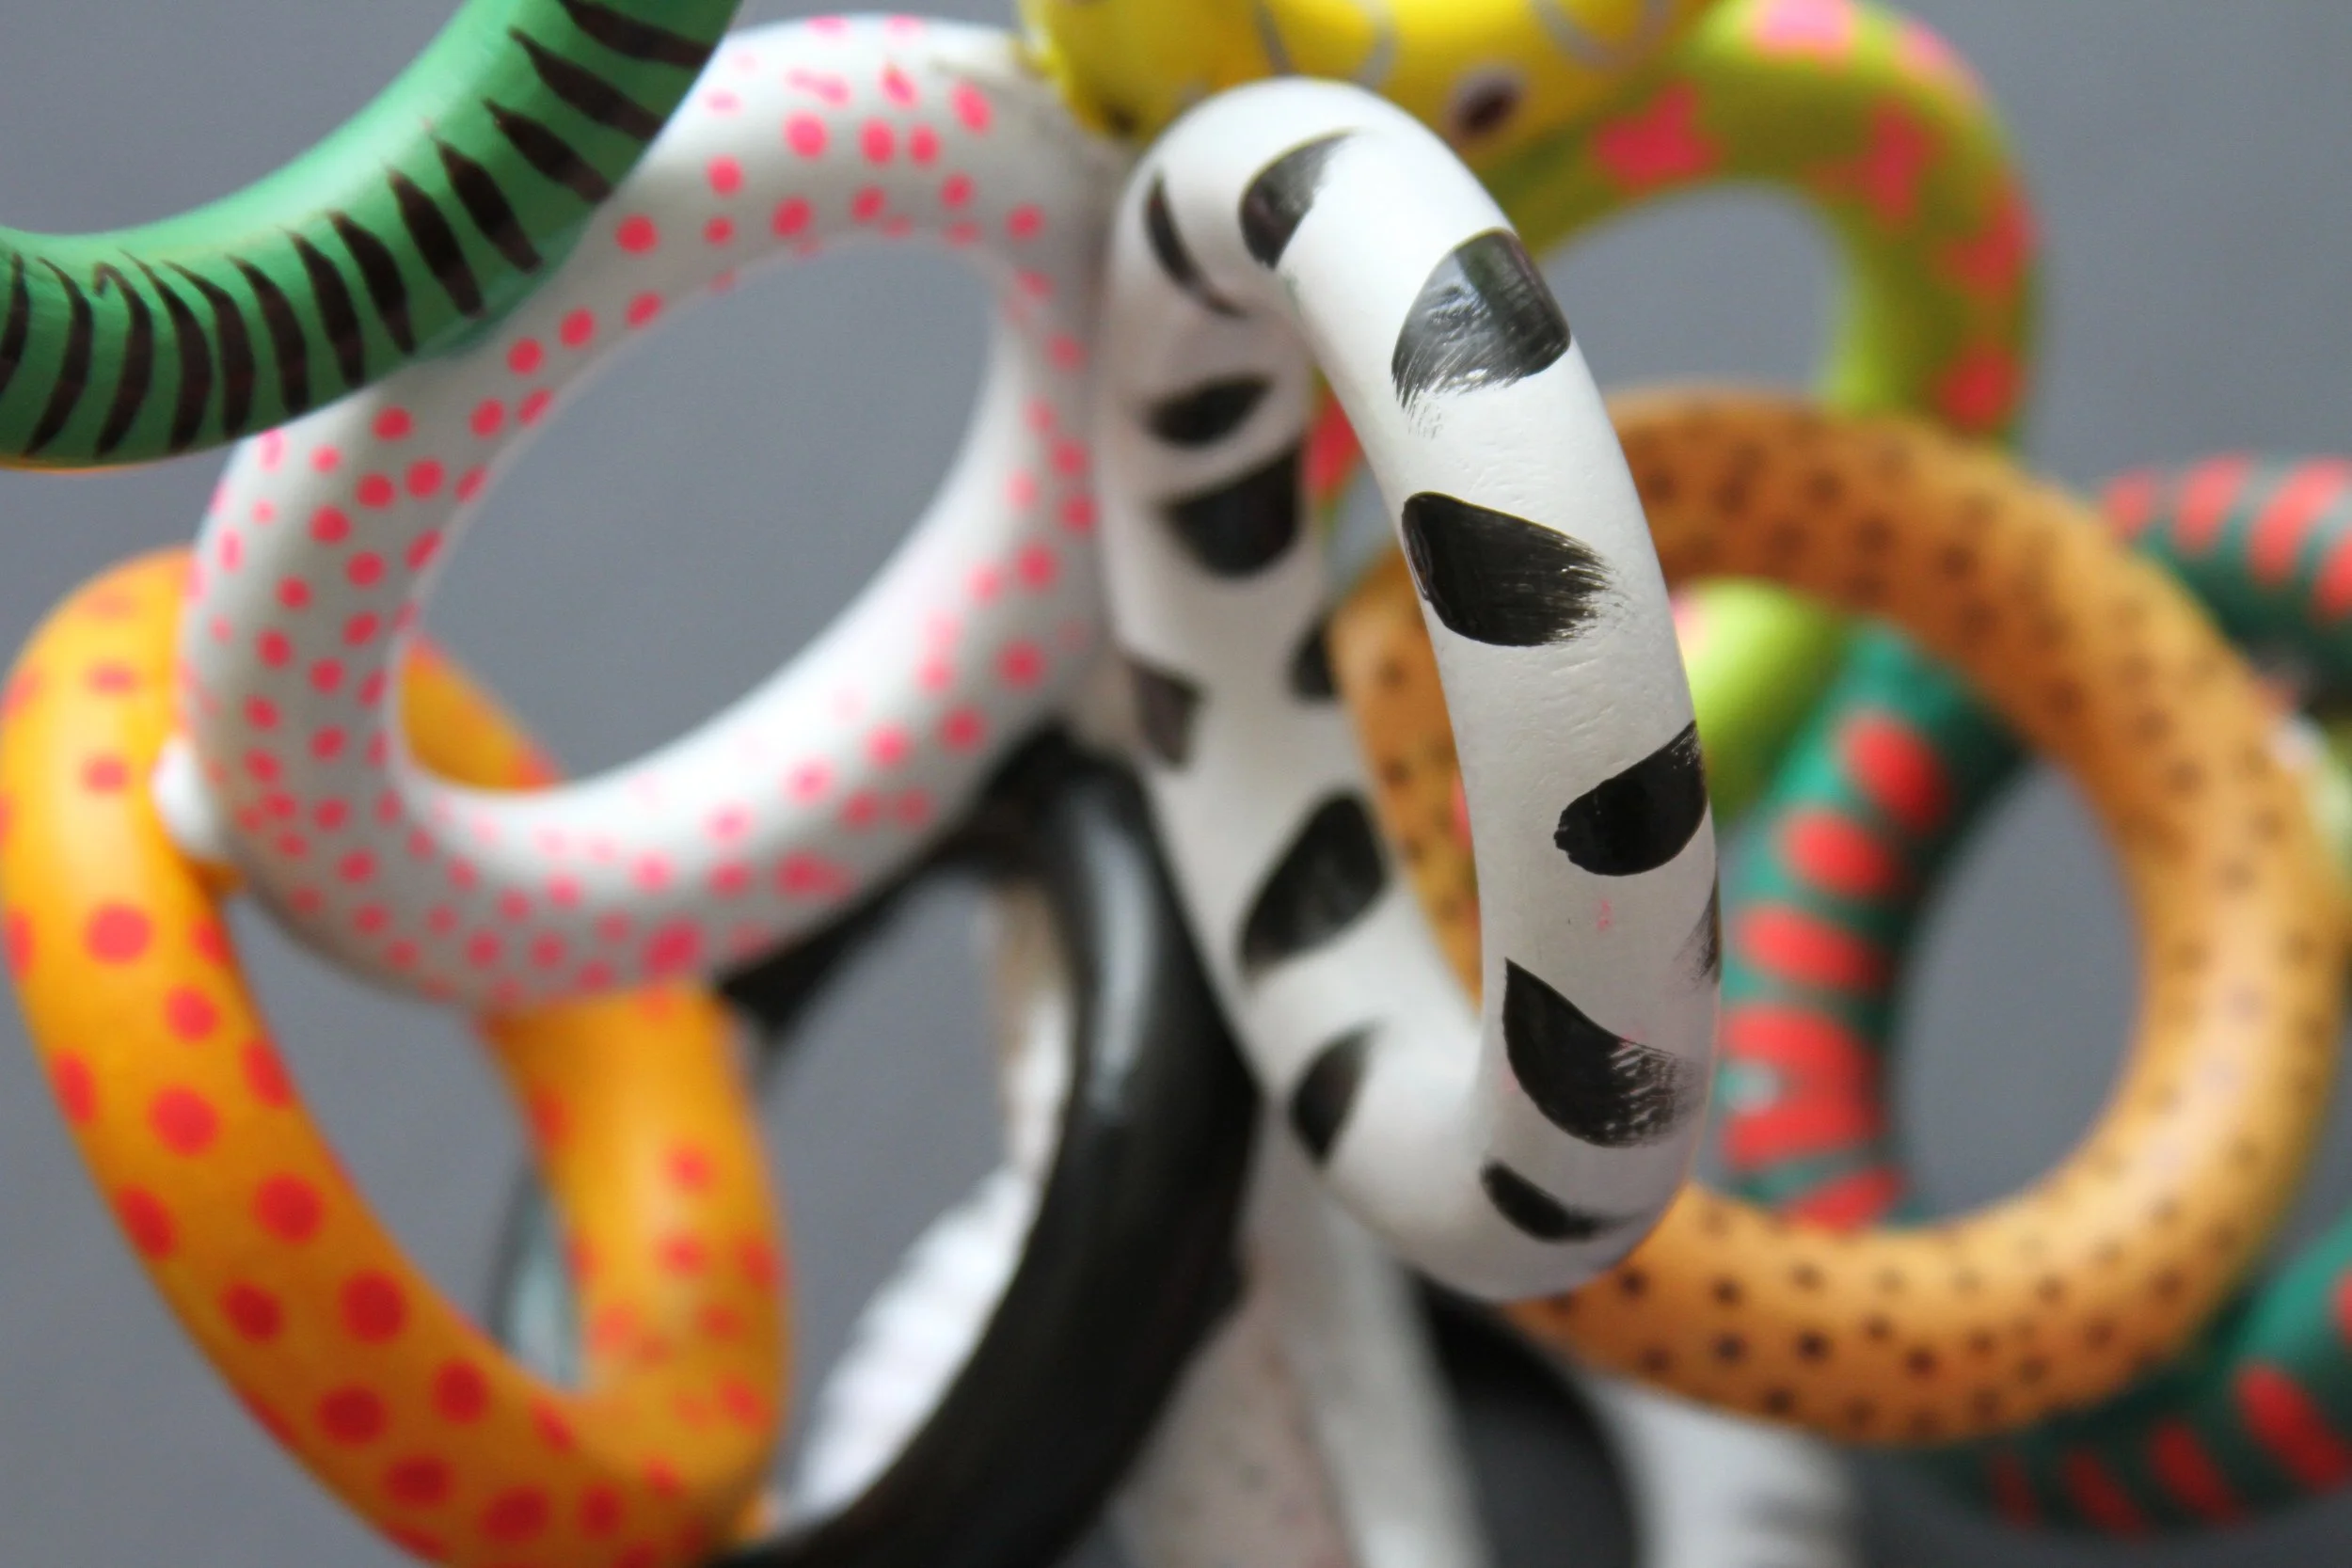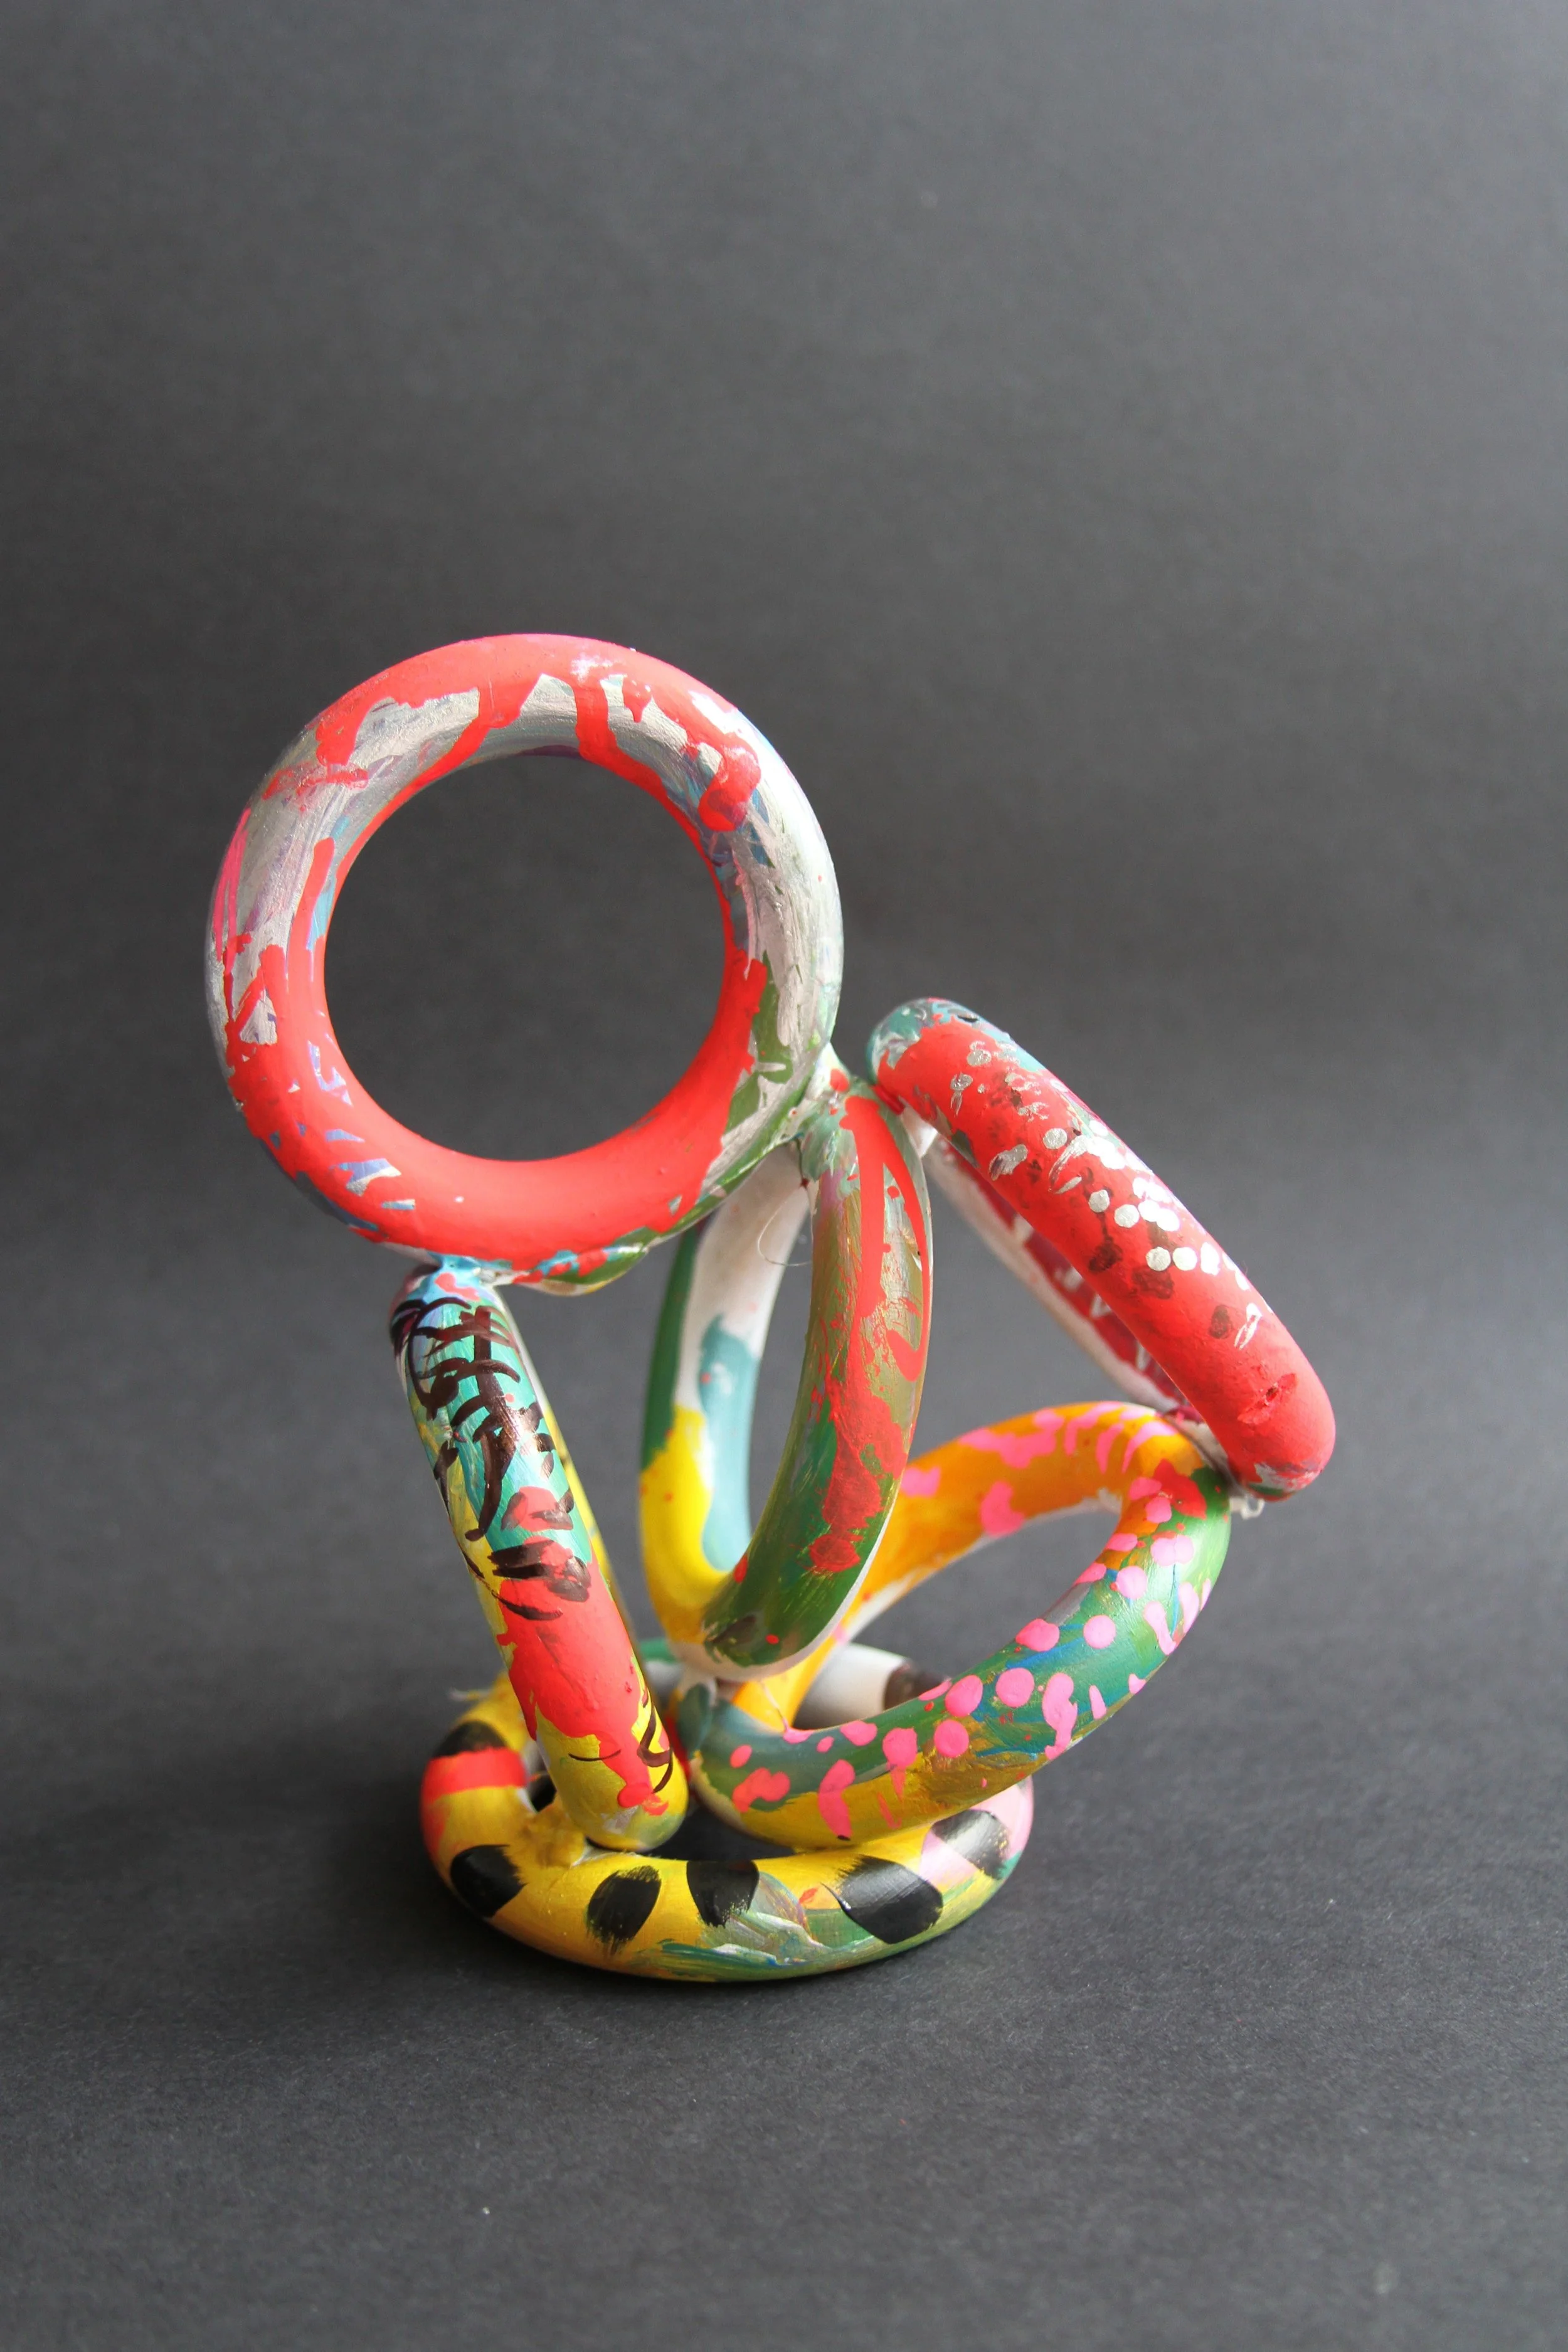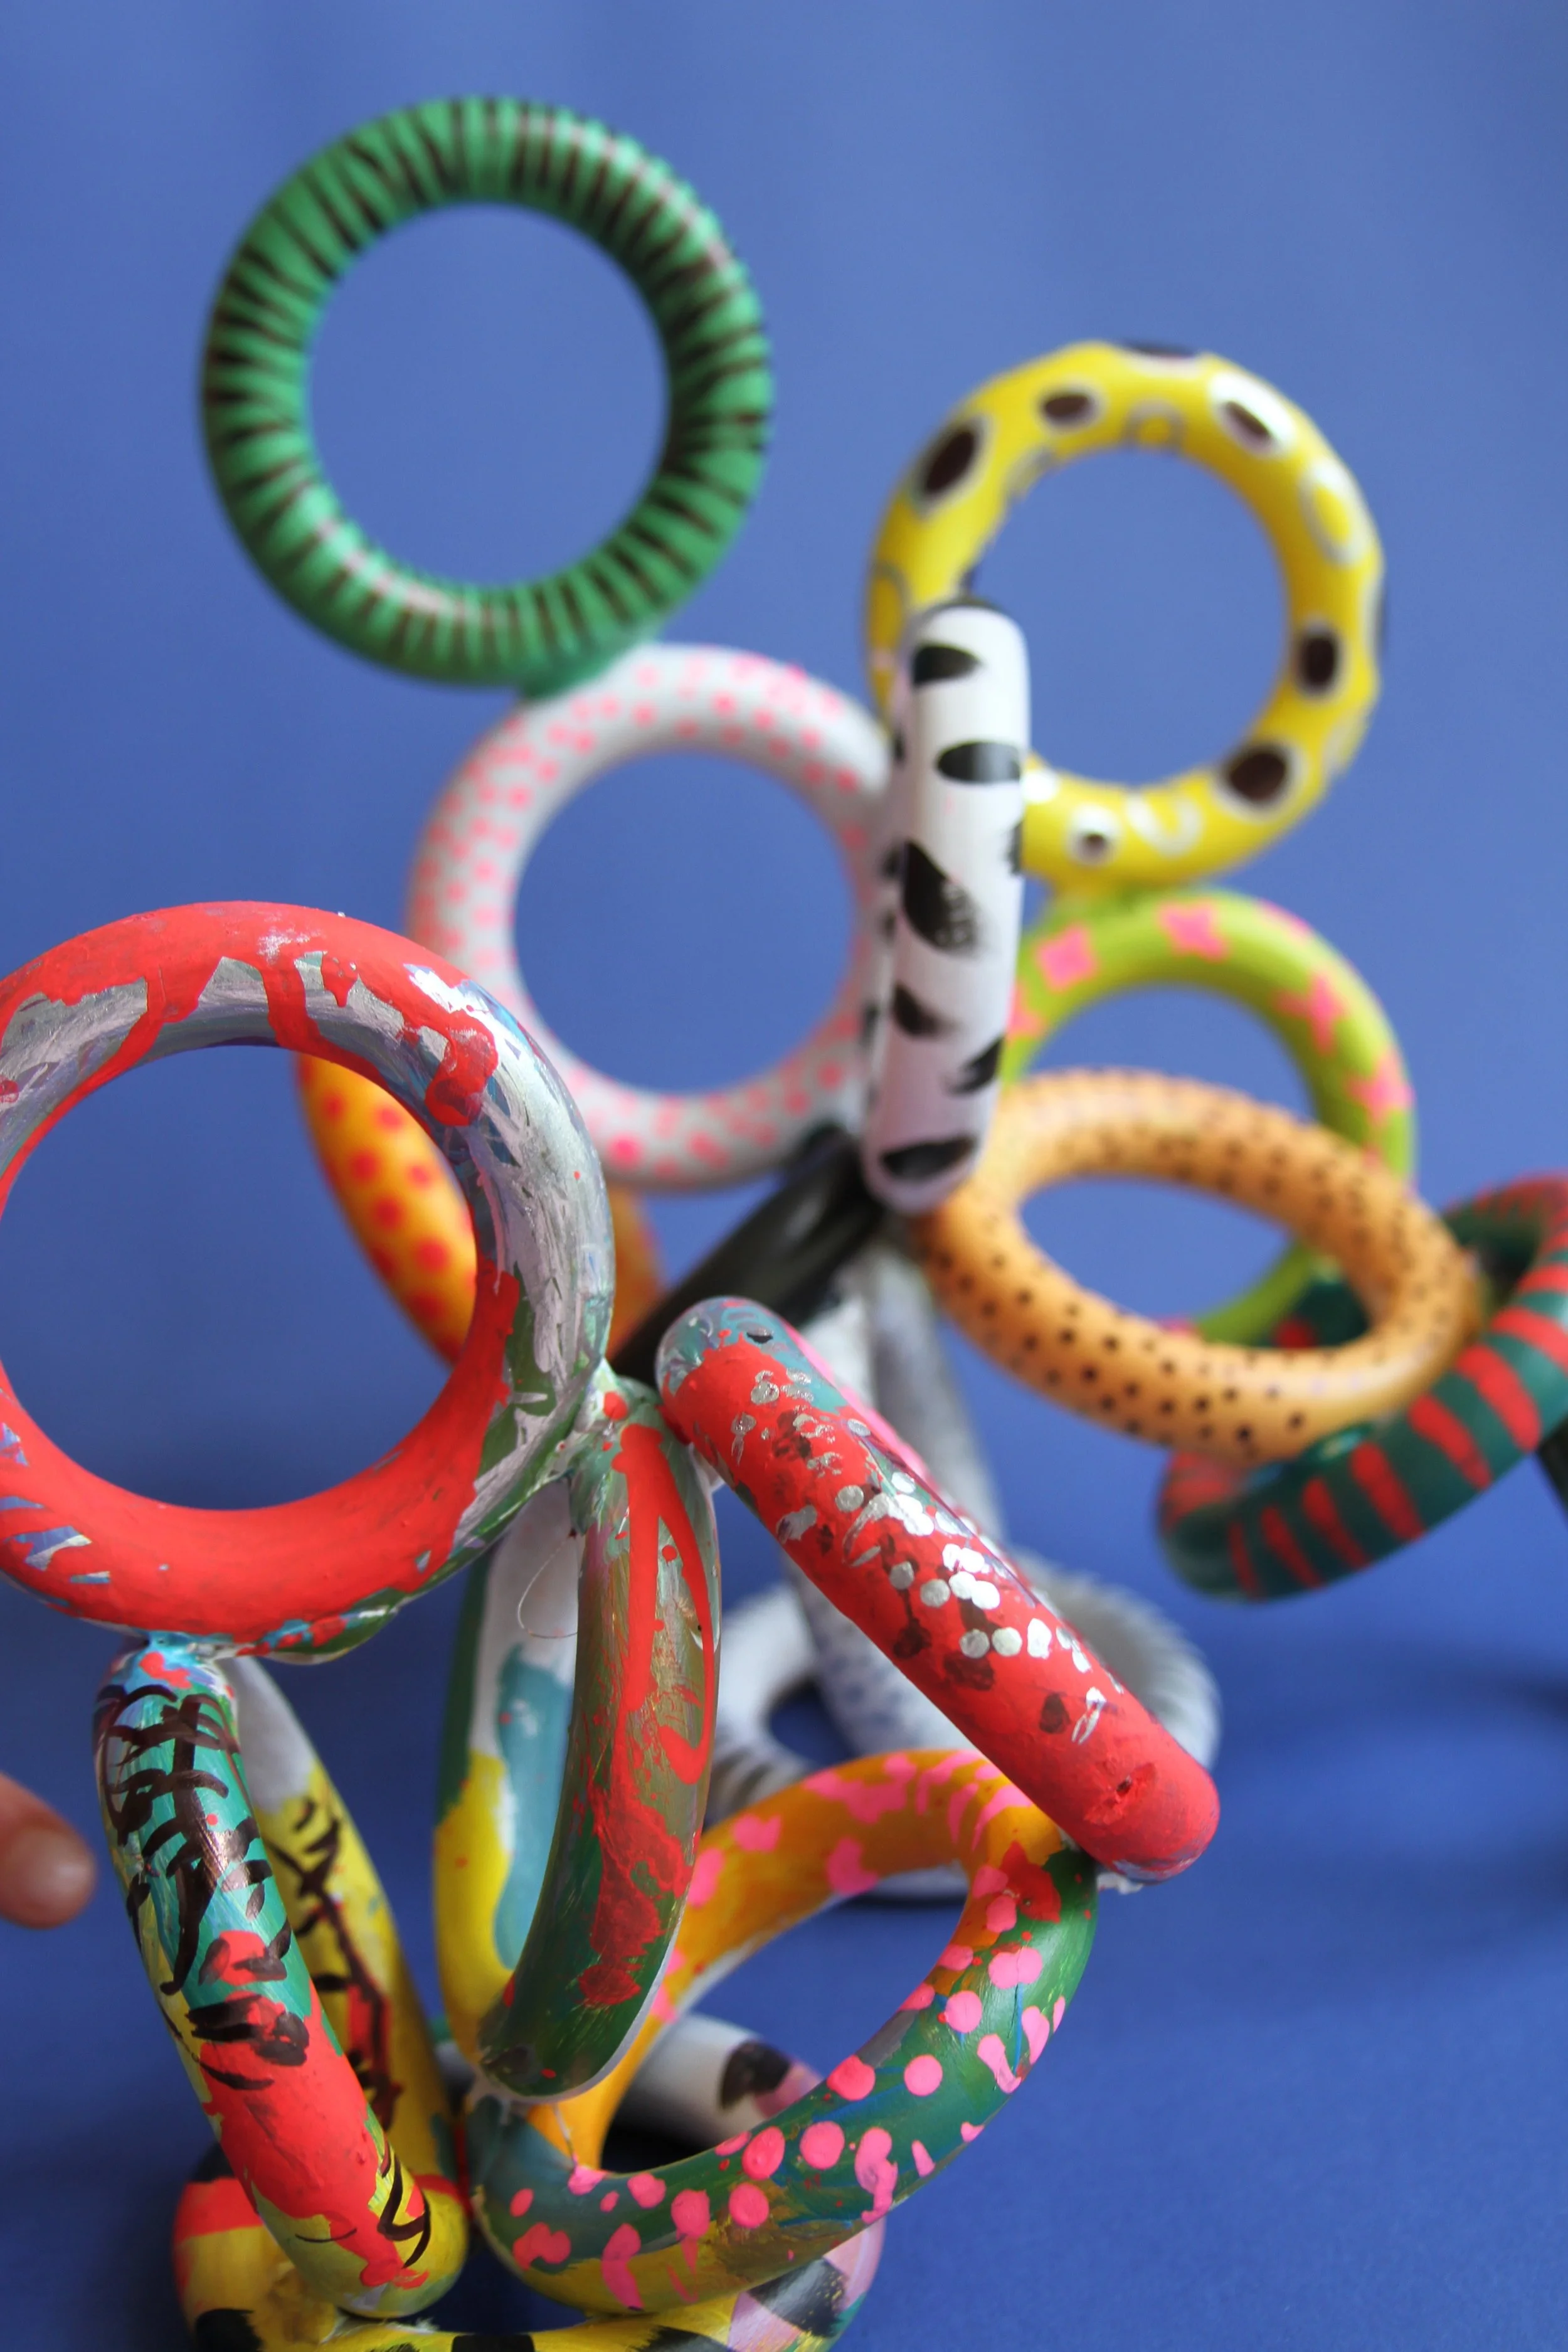
Curtain Ring Assemblage
I have been collecting these wooden curtain rings from thrift stores for a while now. They are cheap and plentiful and I just knew there was a great idea waiting for them. It took a while for inspiration to hit to be honest but I think it was worth the wait. I am just in love with these.
They are equally as fun/tricky to arrange and glue as they are to paint. It takes a little experimenting to get a form that balances, and to paint them you need to turn them over and over to get the colour in the right places. Older kids can experiment with complicated contrasting patterns and younger kids can just go colour crazy.
what you need
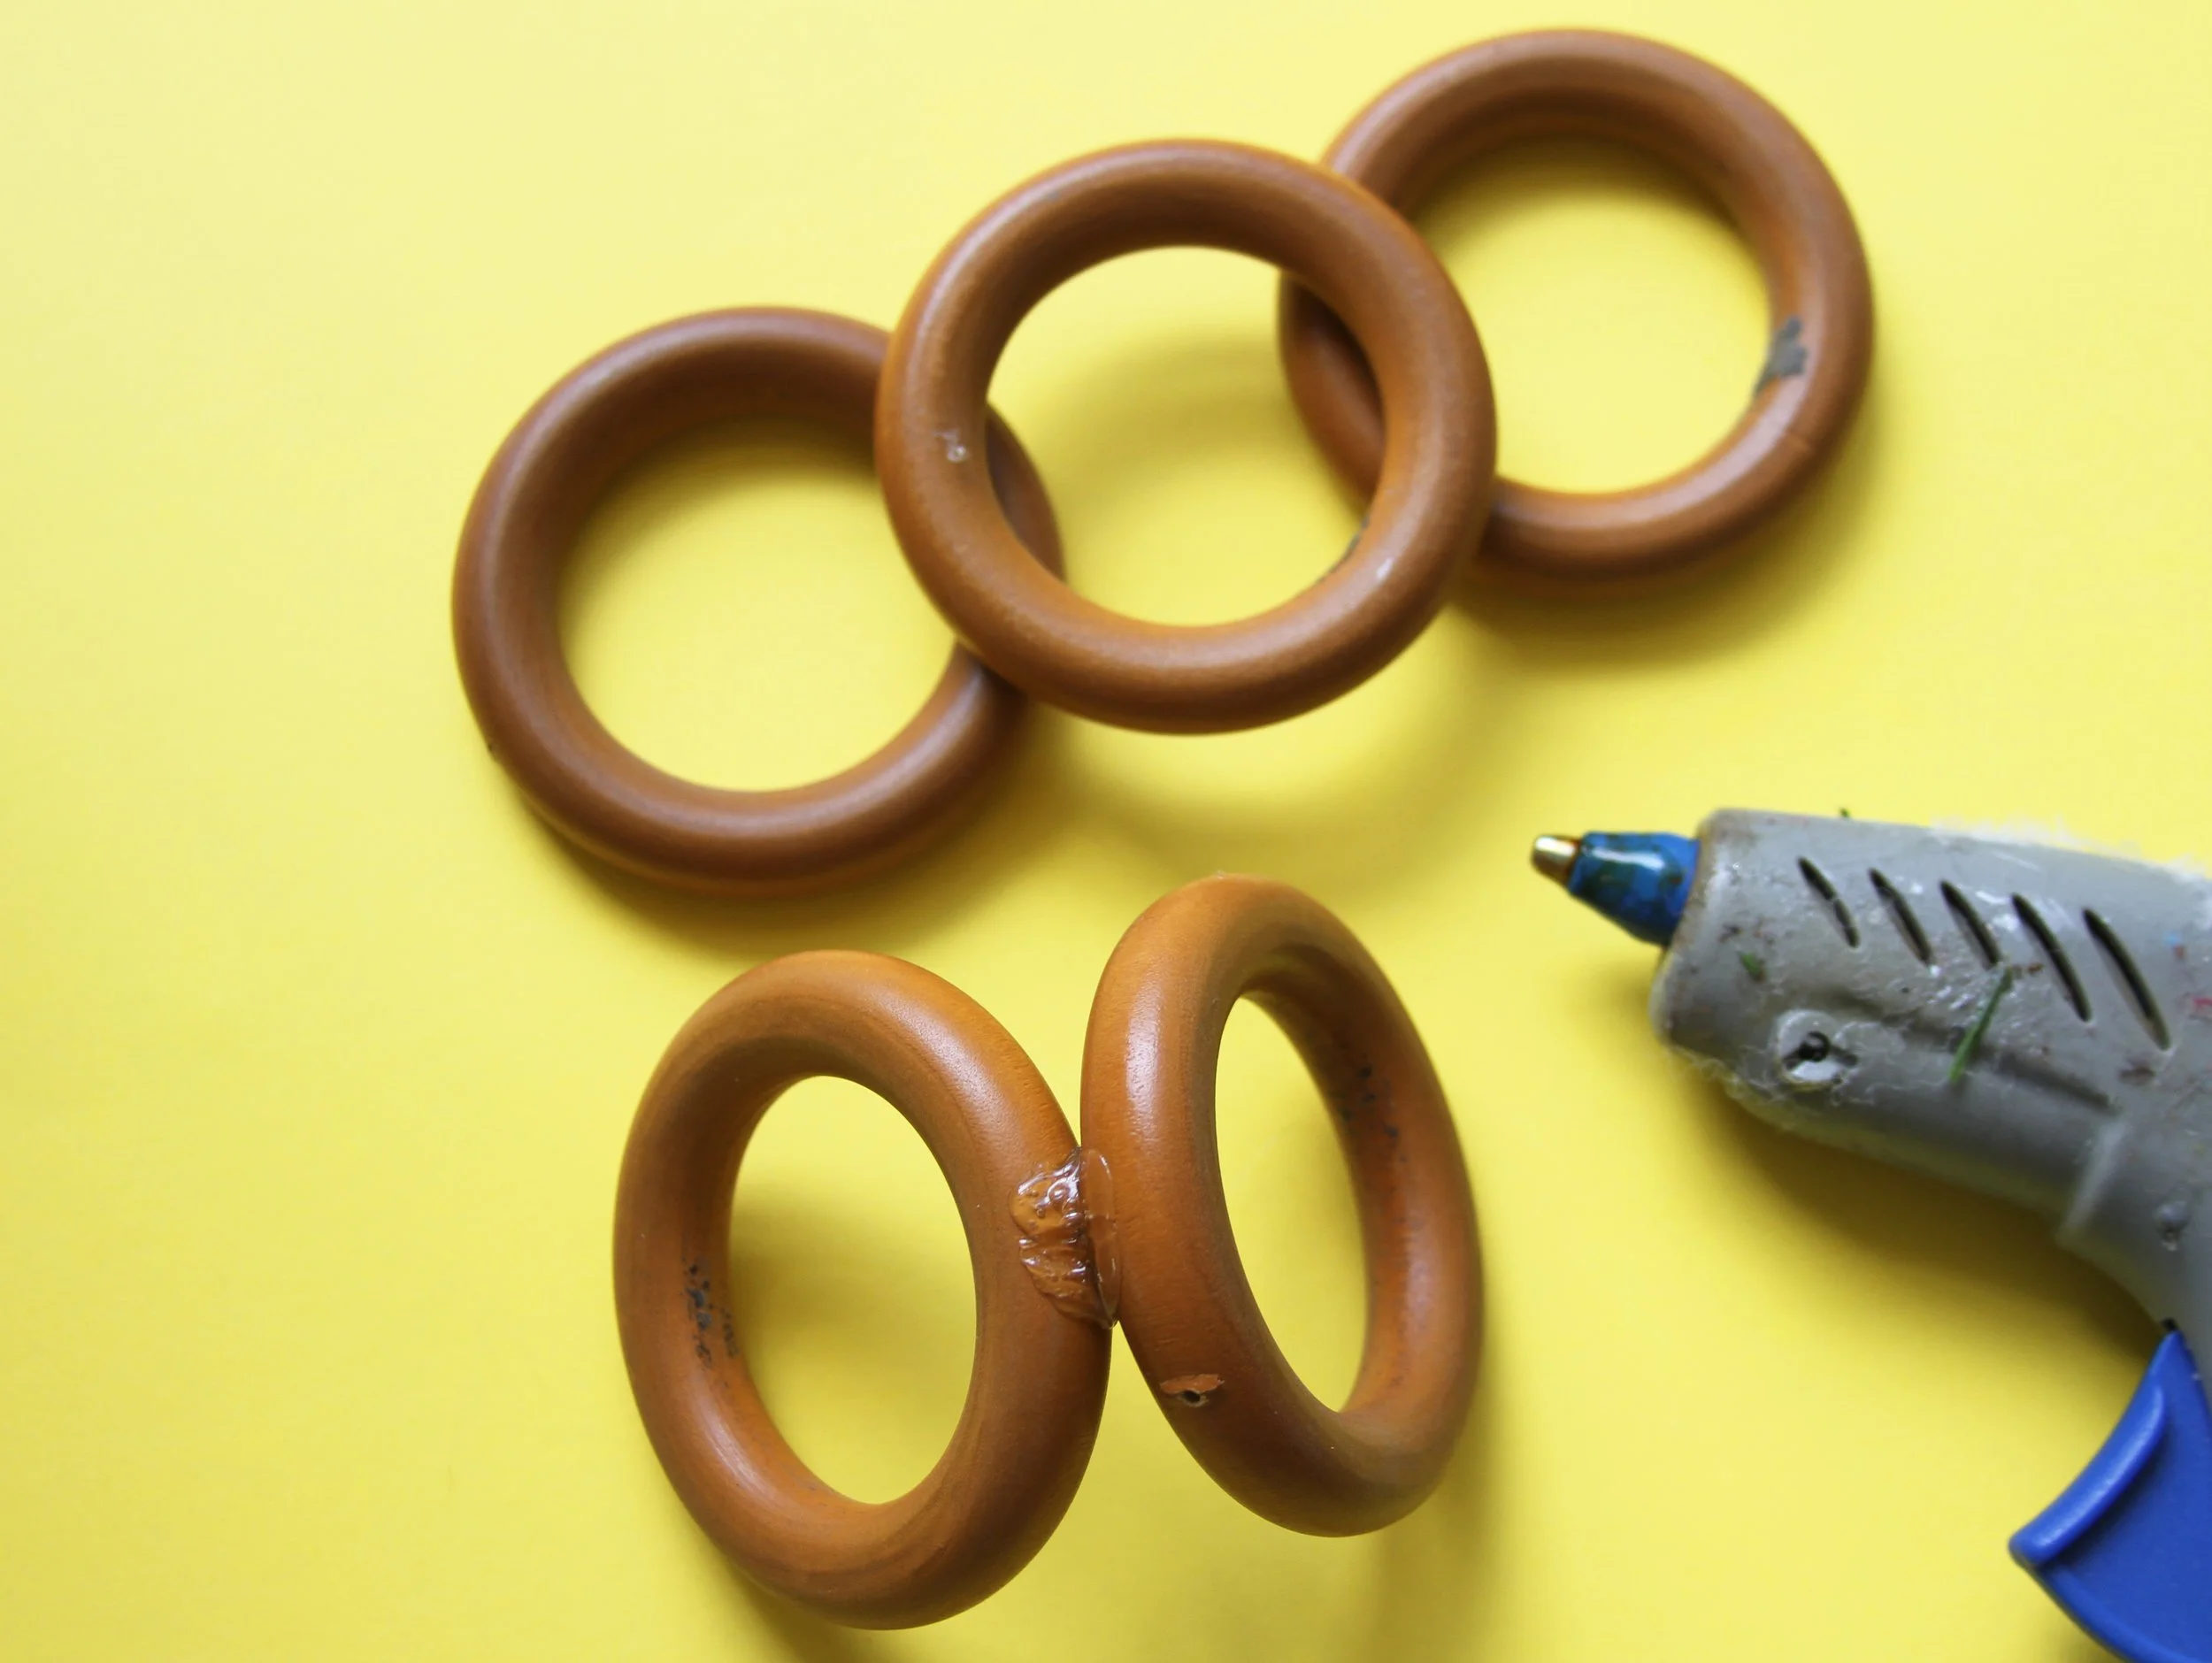
A bag of curtain rings (ours were $4 for 25)
Hot glue
White paint (or matte spray paint)
Paint pens and or permanent markers
Paint brushes
Coloured acrylic or tempera paint (optional)
To make
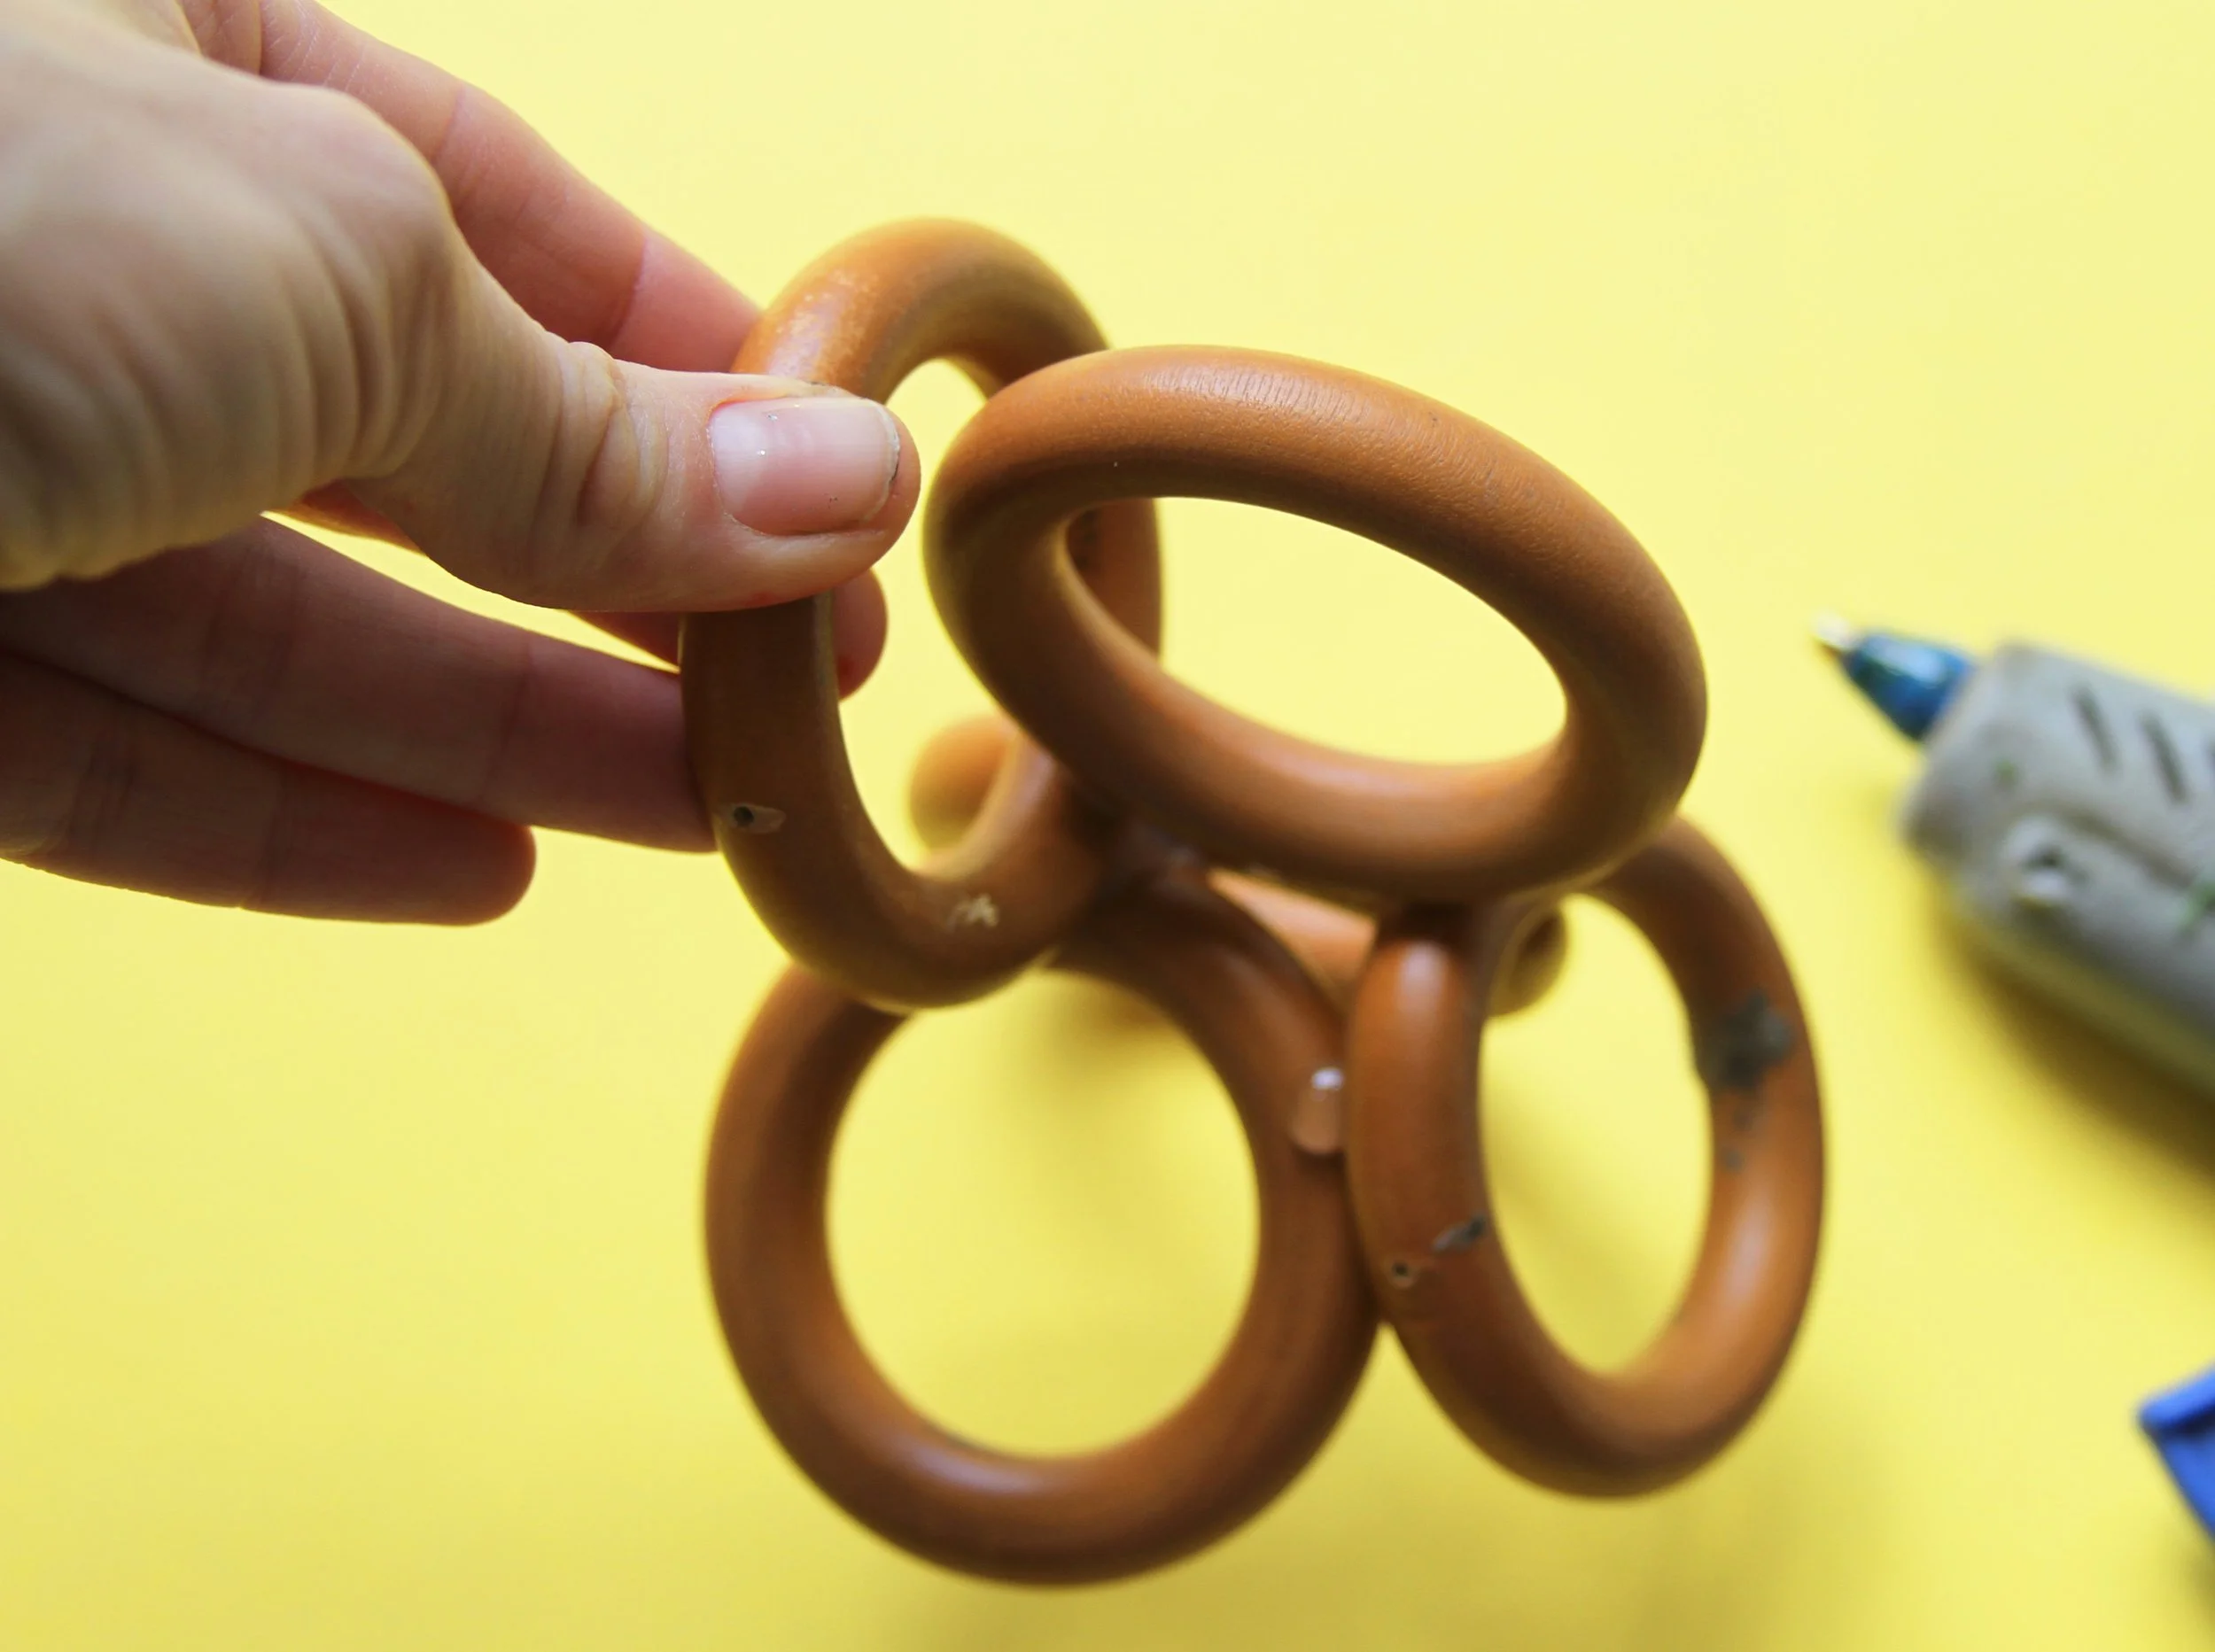
1.Glue the rings together one a a time. This takes a little patience as you need to hold the pieces together until the glue has dried.
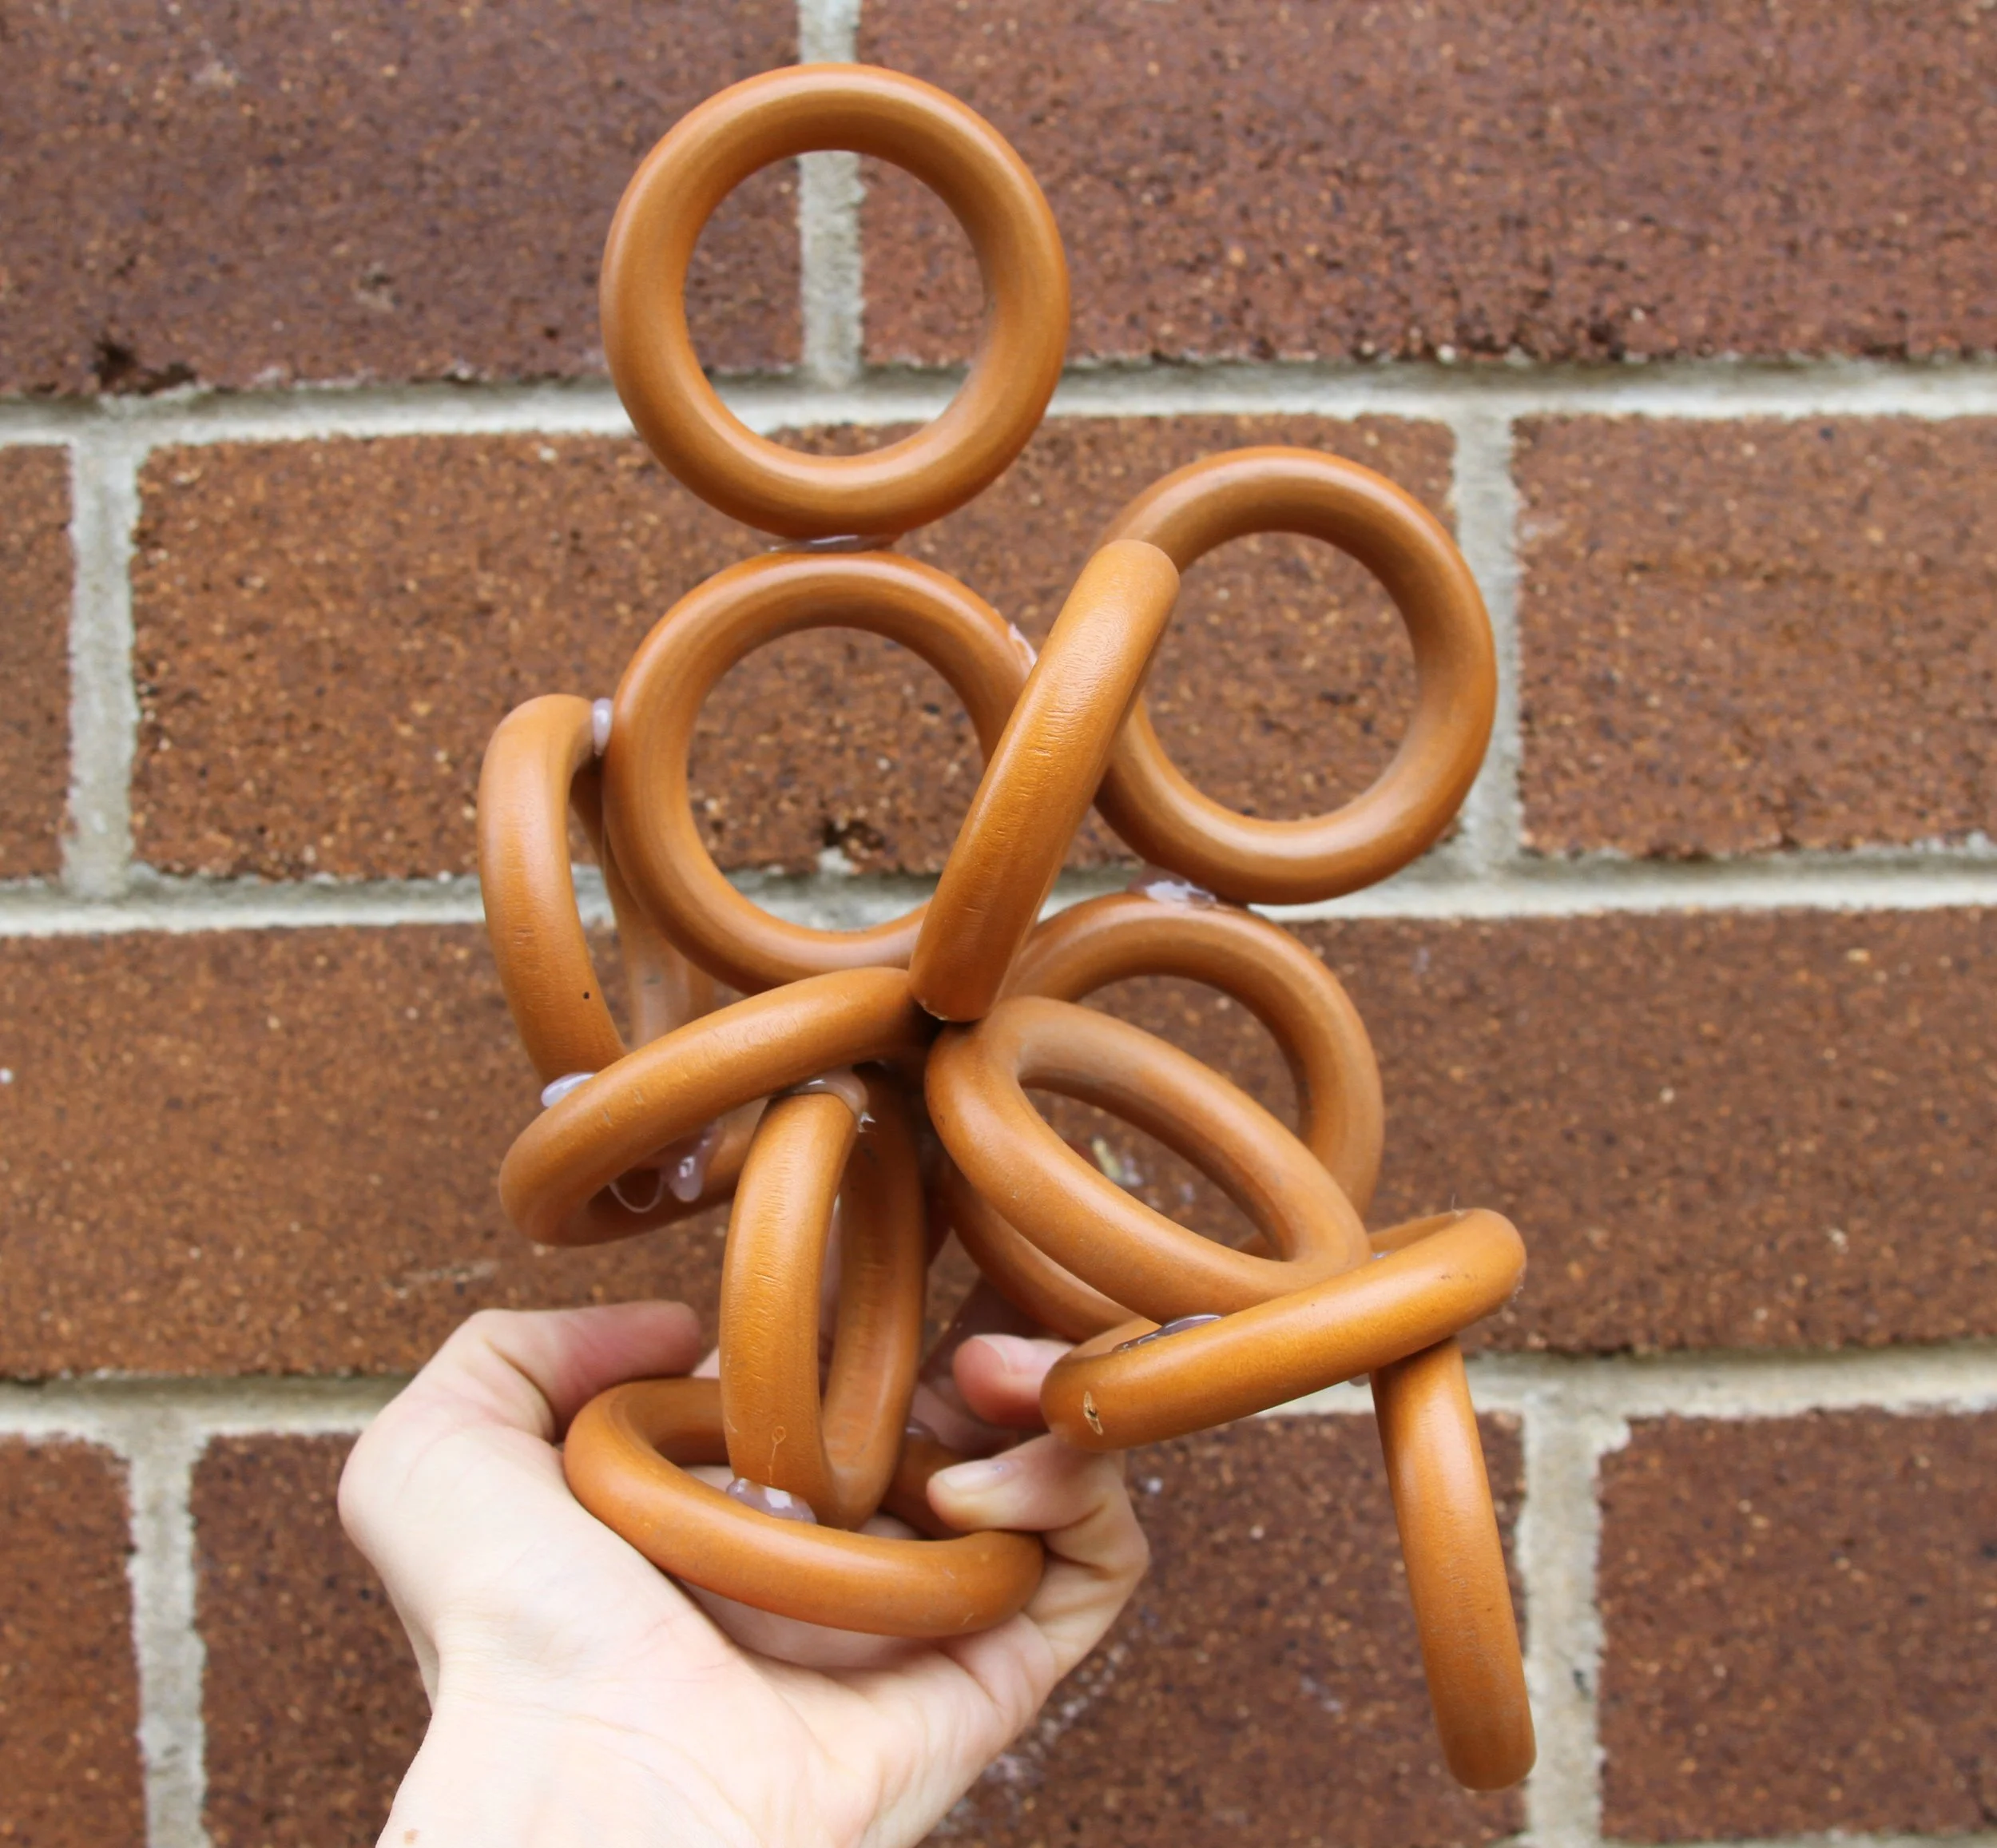
2. Keep going! Make sure the assemblage can stand on its own before building up or out.
Voila! Dont worry if the glue is showing a bit. You can cover this with paint in the next step.
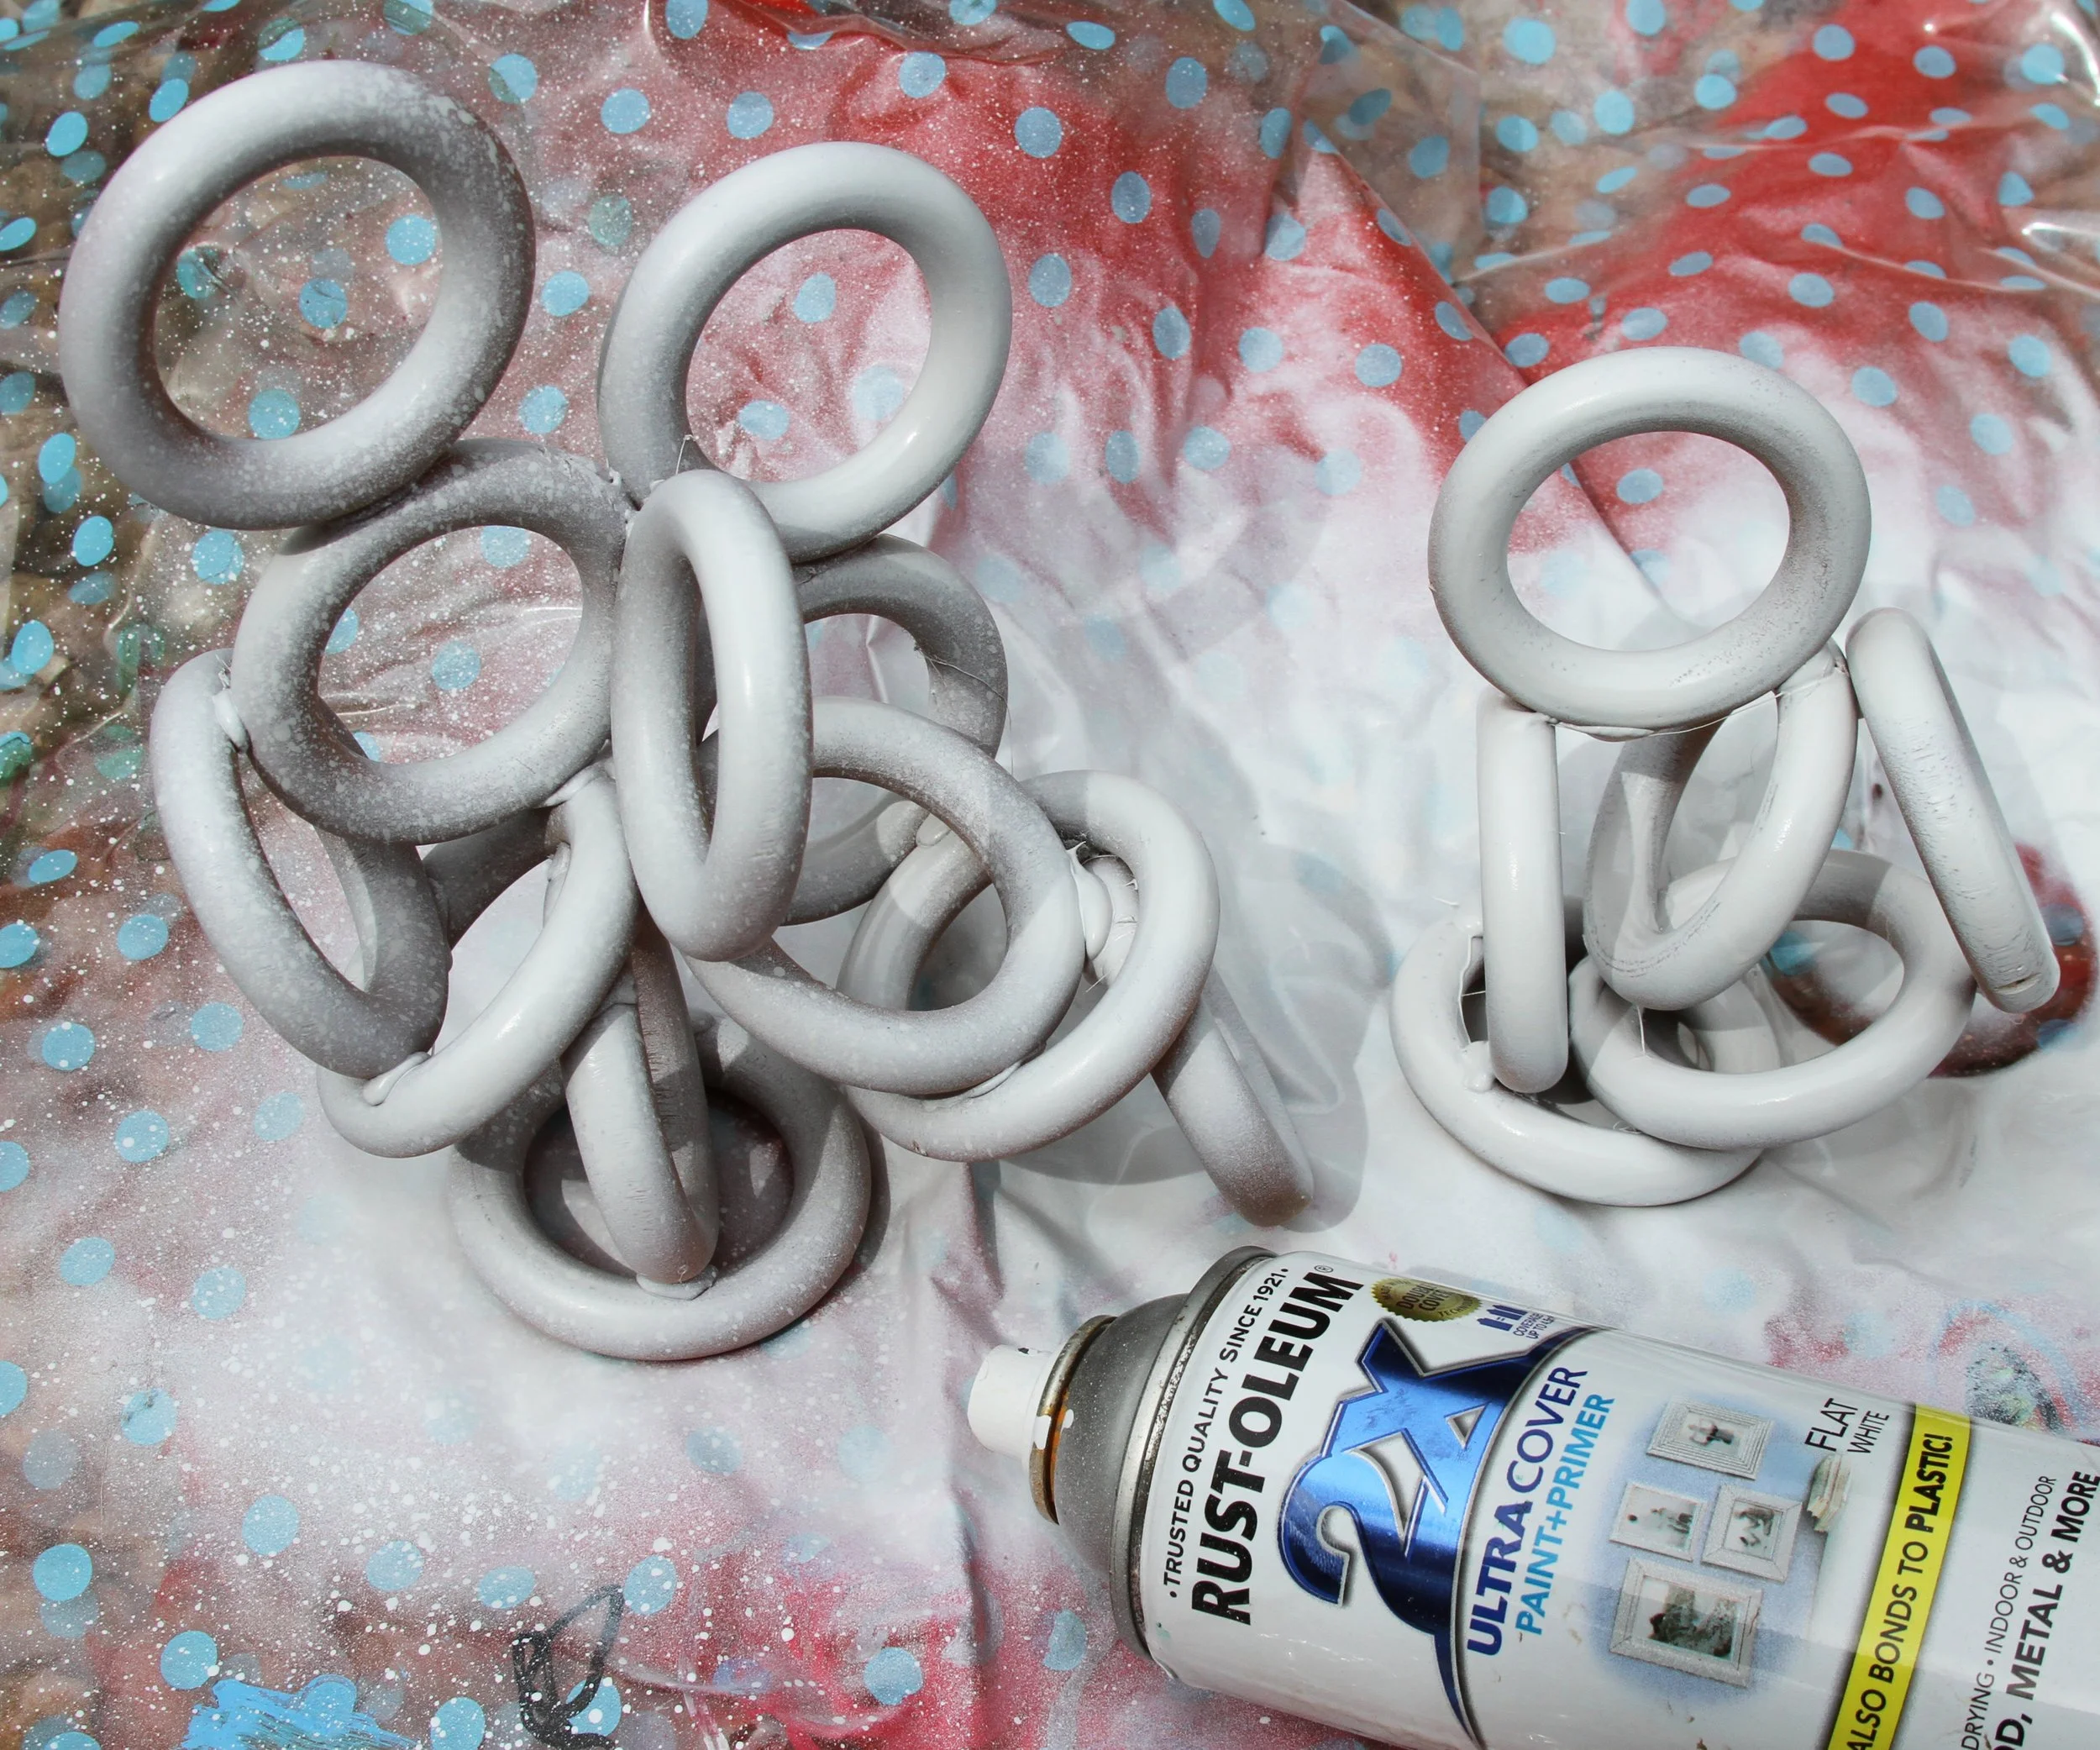
3. Paint your assemblage with white paint. I am lazy so used a matte spray paint.
4. Once your white undercoat is dry start painting! Little ones can just dab on paint where they like. Older kids will find this step more interesting and challenging as its quite tricky to paint the intersecting rings. You might need to use a variety of different sized brushes to get in all the tight spots.
6. DECORATE!!!
This is where you can really go crazy. Using a variety or paint pens and markers or coloured acrylic or tempera paint, apply a variety of patterns on to your rings. Try spots, stripes, crosses, paint strokes, zig zags, or a combination of everything! The wilder the combinations the better. Again, younger kids can just freestyle here.
OOH LA LA!
Gallery worthy assemblages for the price of a coffee!


